Achieving Professional Results: Skim Coating Secrets Revealed
Skim coating is a vital technique in the world of home improvement, essential for achieving smooth, flawless walls. This comprehensive guide delves into the art and science of skim coating, offering a treasure trove of professional tips and tricks. Whether you’re dealing with plaster walls or drywall repair, this article will navigate you through the intricacies of skim coating, ensuring professional results every time.
The Basics of Skim Coating
Understanding Skim Coat
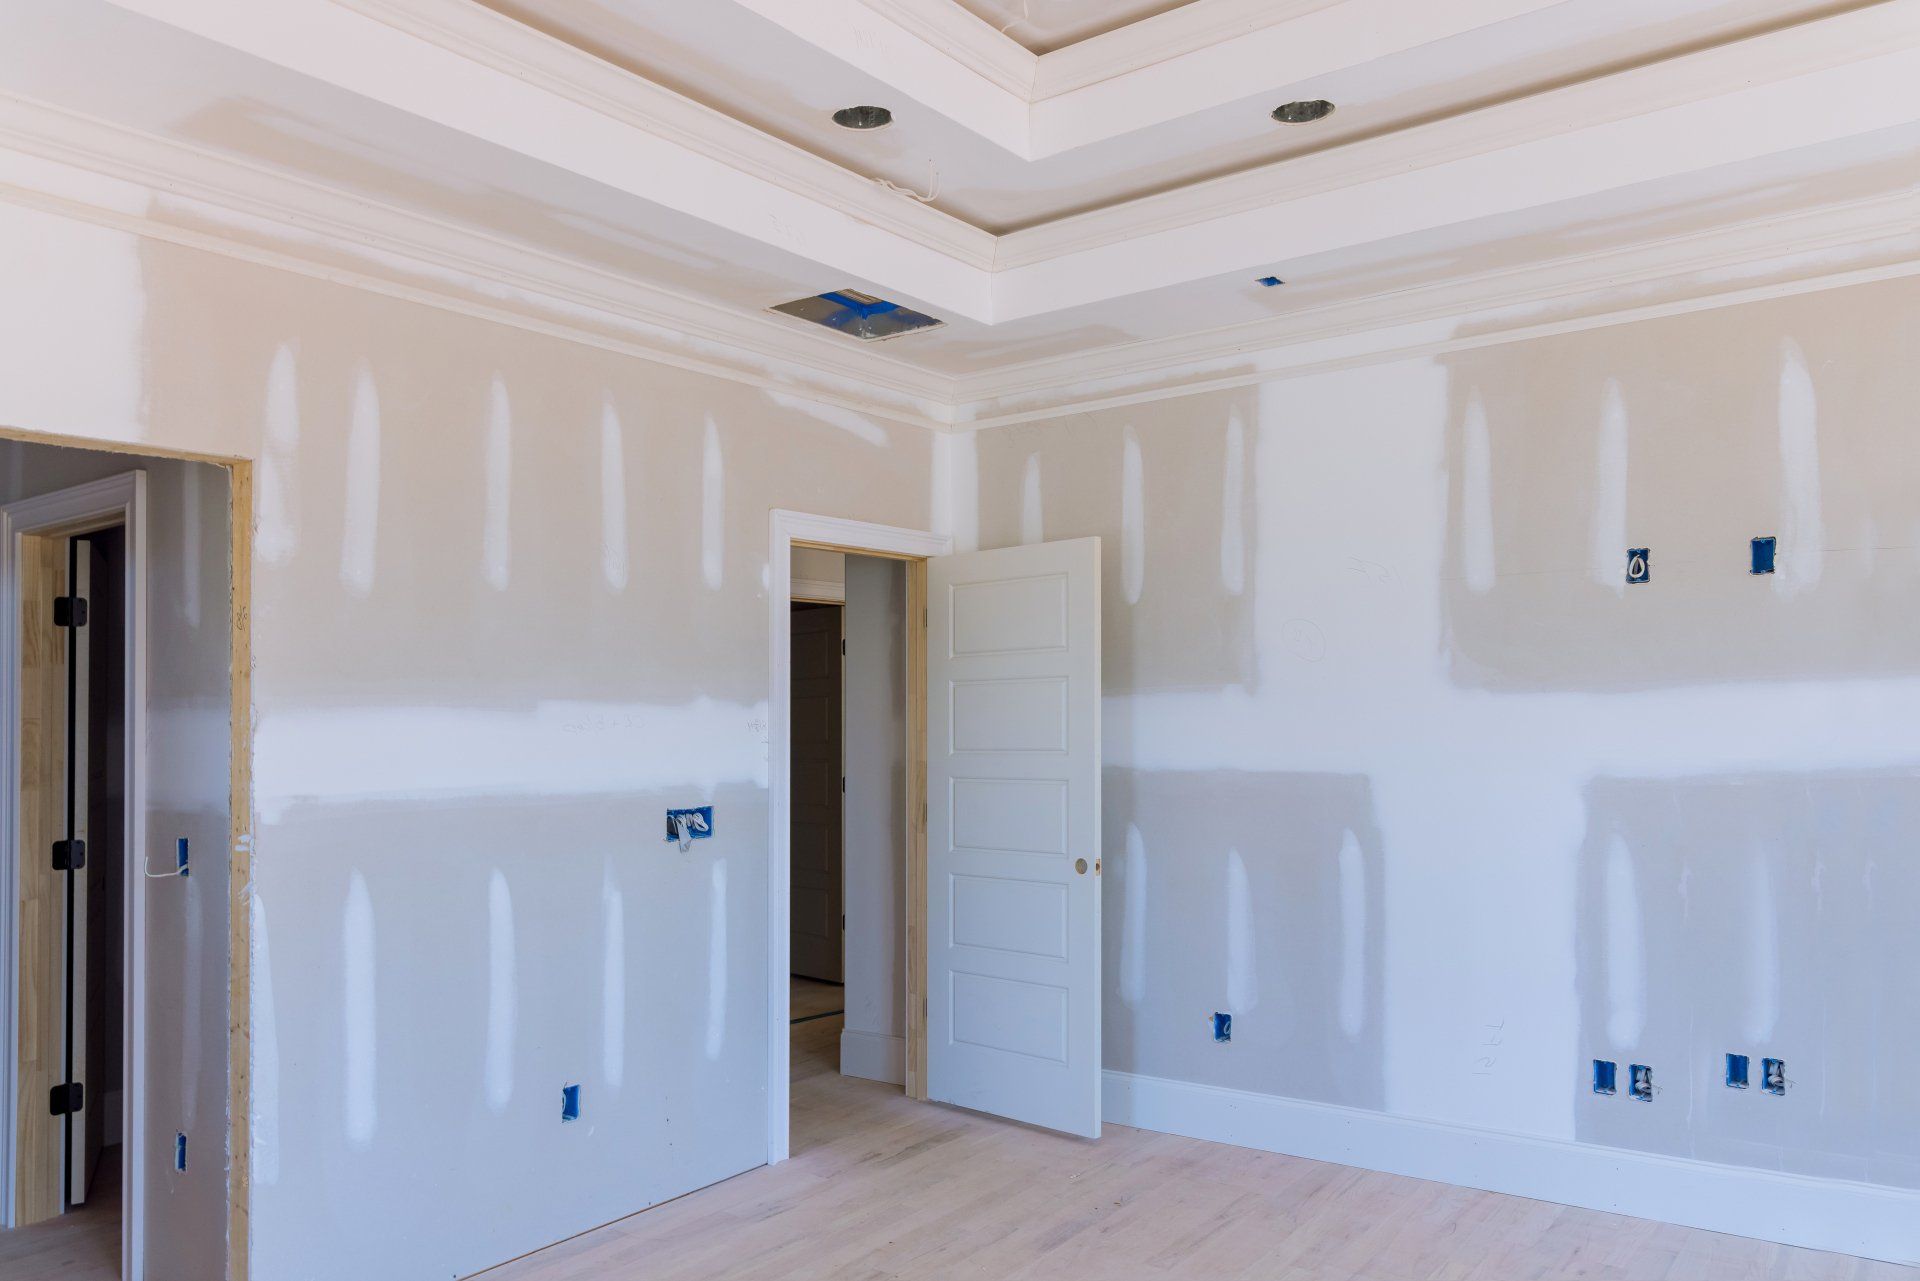
A skim coat, often referred to as a level-five drywall finish, is a thin layer of drywall compound applied to walls. This technique is crucial for creating a smooth surface, especially after drywall replacement or repair. It is equally effective on plasterboard walls, offering a fresh canvas for exterior painting or texturing walls.
Tools and Materials
Key materials include joint compound (also known as drywall mud) and a variety of tools such as trowels, hawks, and sanding blocks. For best results, ensure your tools are clean and in good condition.
Preparing Your Surface
Cleaning and Priming
Before skim coating, ensure your walls are clean and free of dust or debris. If you're working on new plaster walls or drywall, a primer is essential. It helps the skim coat adhere better and provides a uniform base for painting walls.
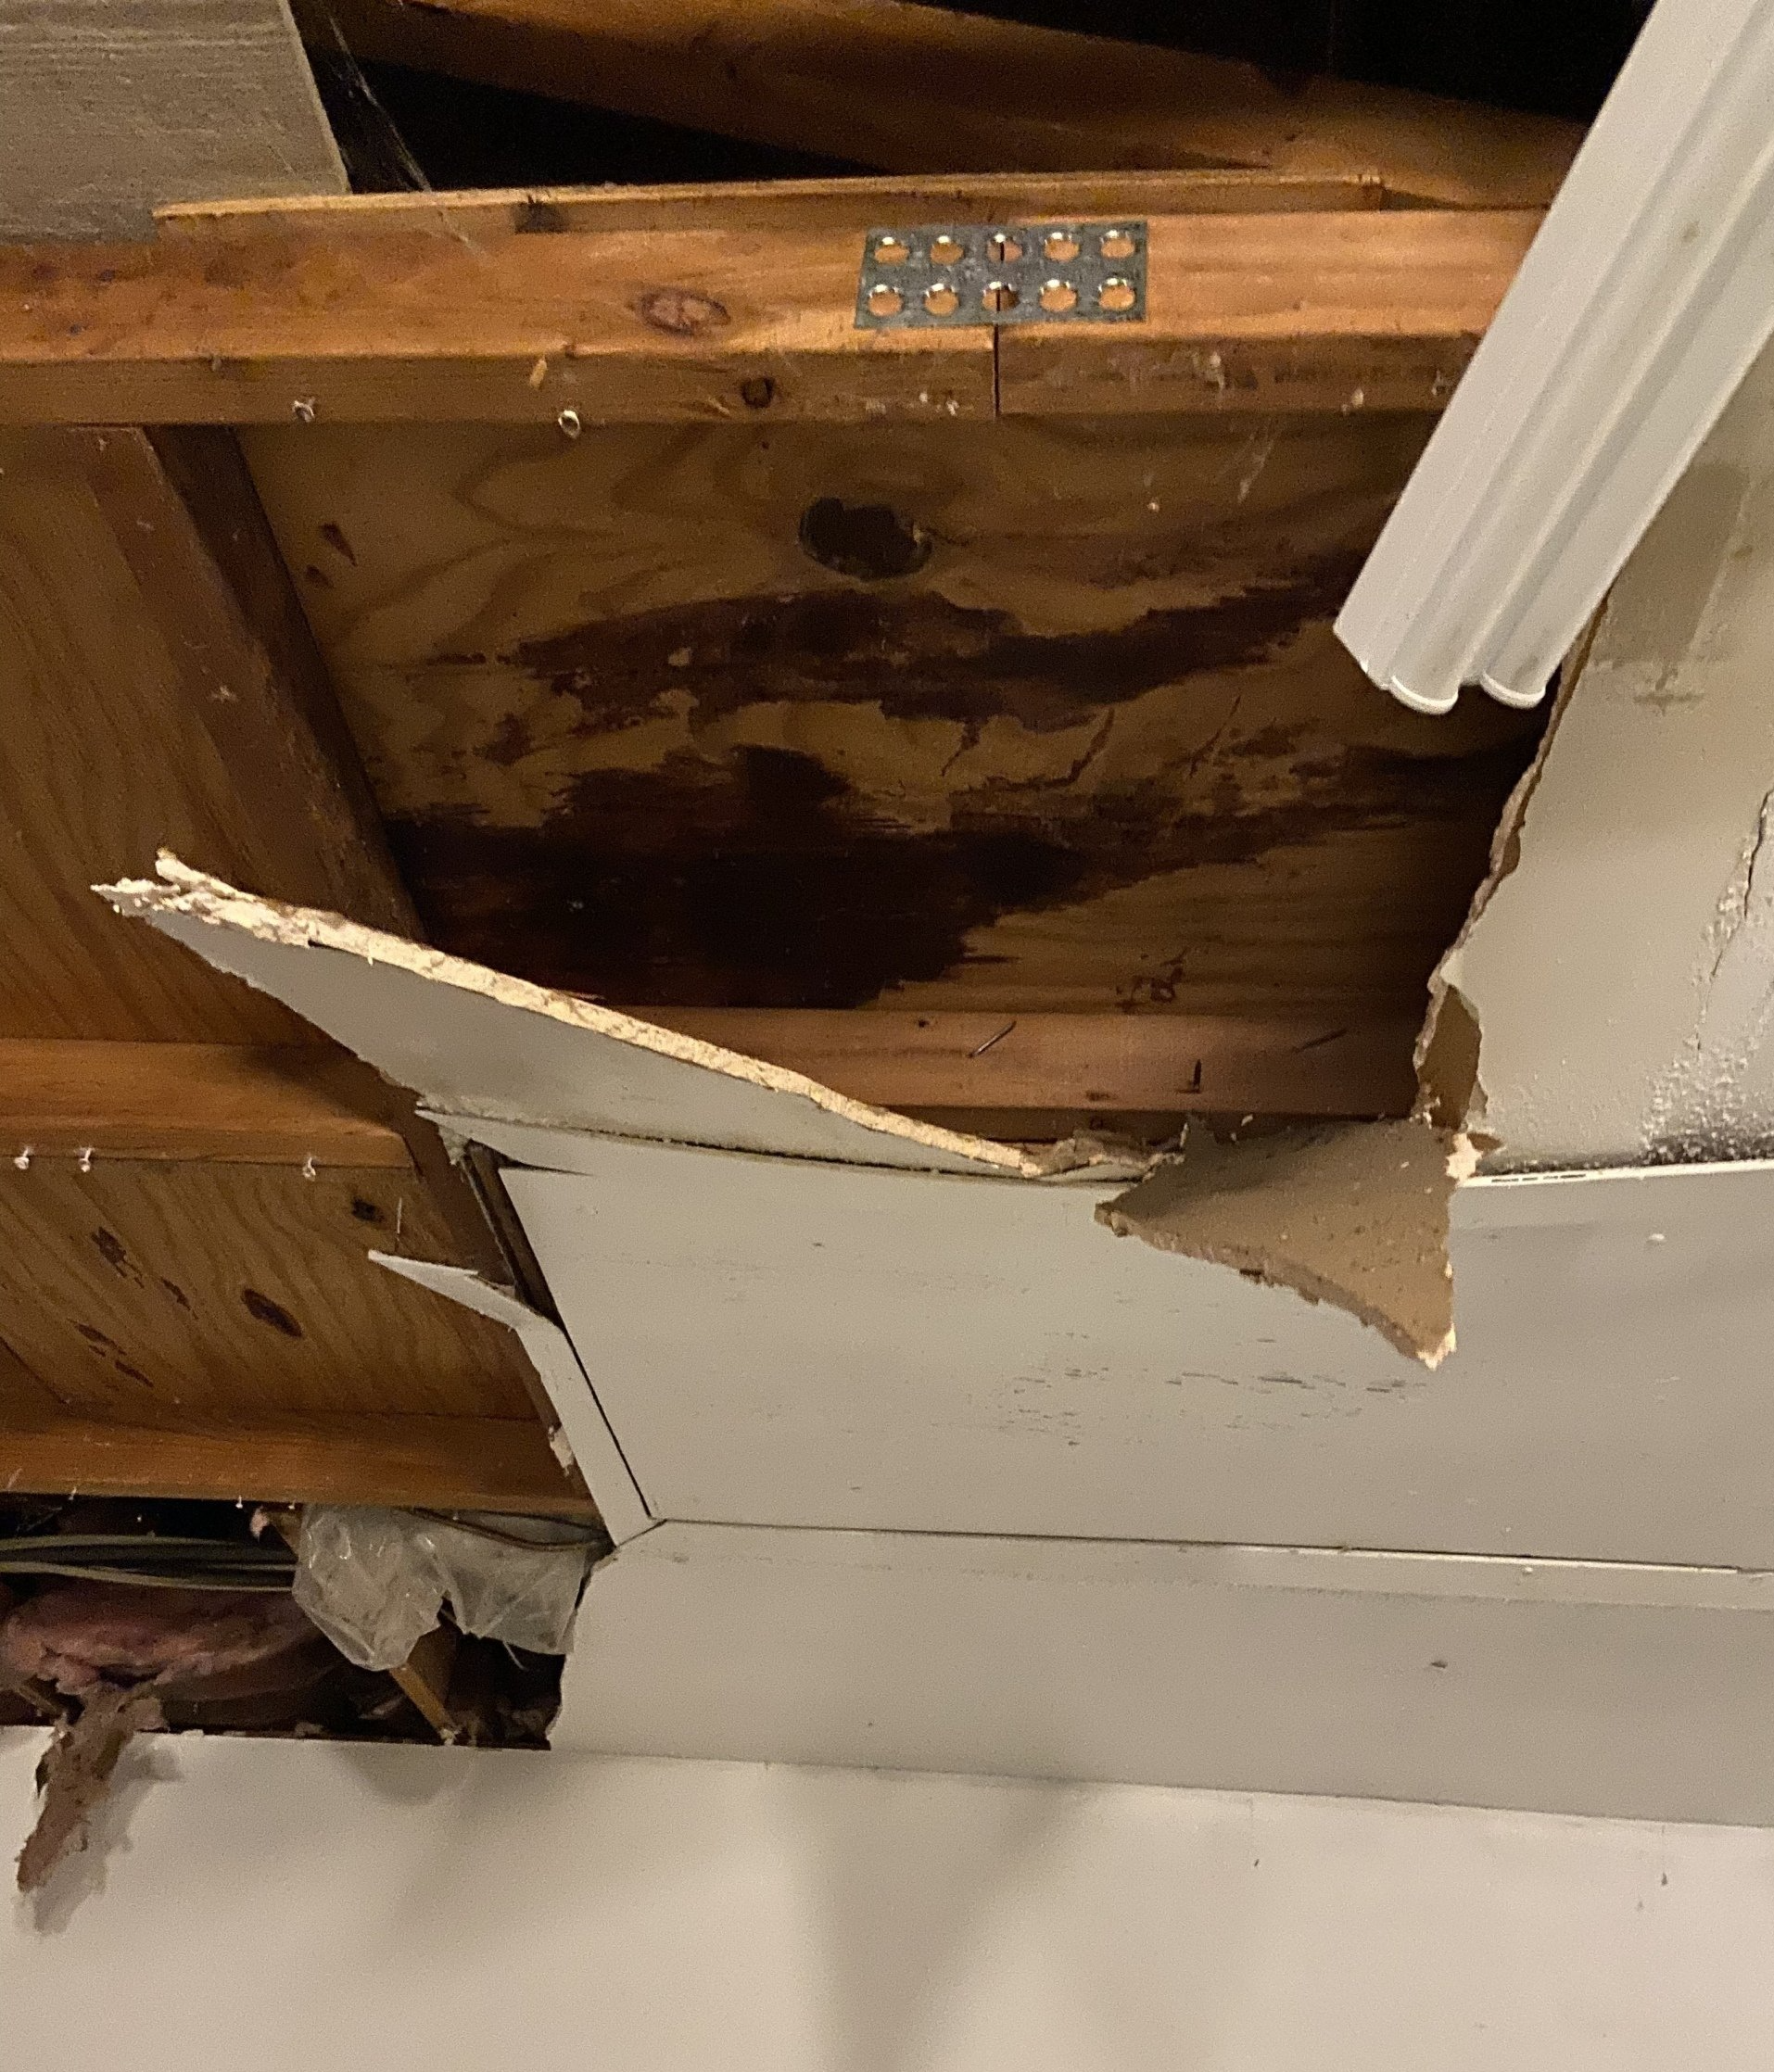
Repairing Flaws
Address any cracks or holes with a drywall repair service or by using drywall compound. This step is crucial for achieving a seamless finish.
The Skim Coating Process
Mixing the Compound
Achieving the right consistency of the joint compound is crucial. It should be smooth and easy to spread, similar to the consistency of mayonnaise.
Application Techniques
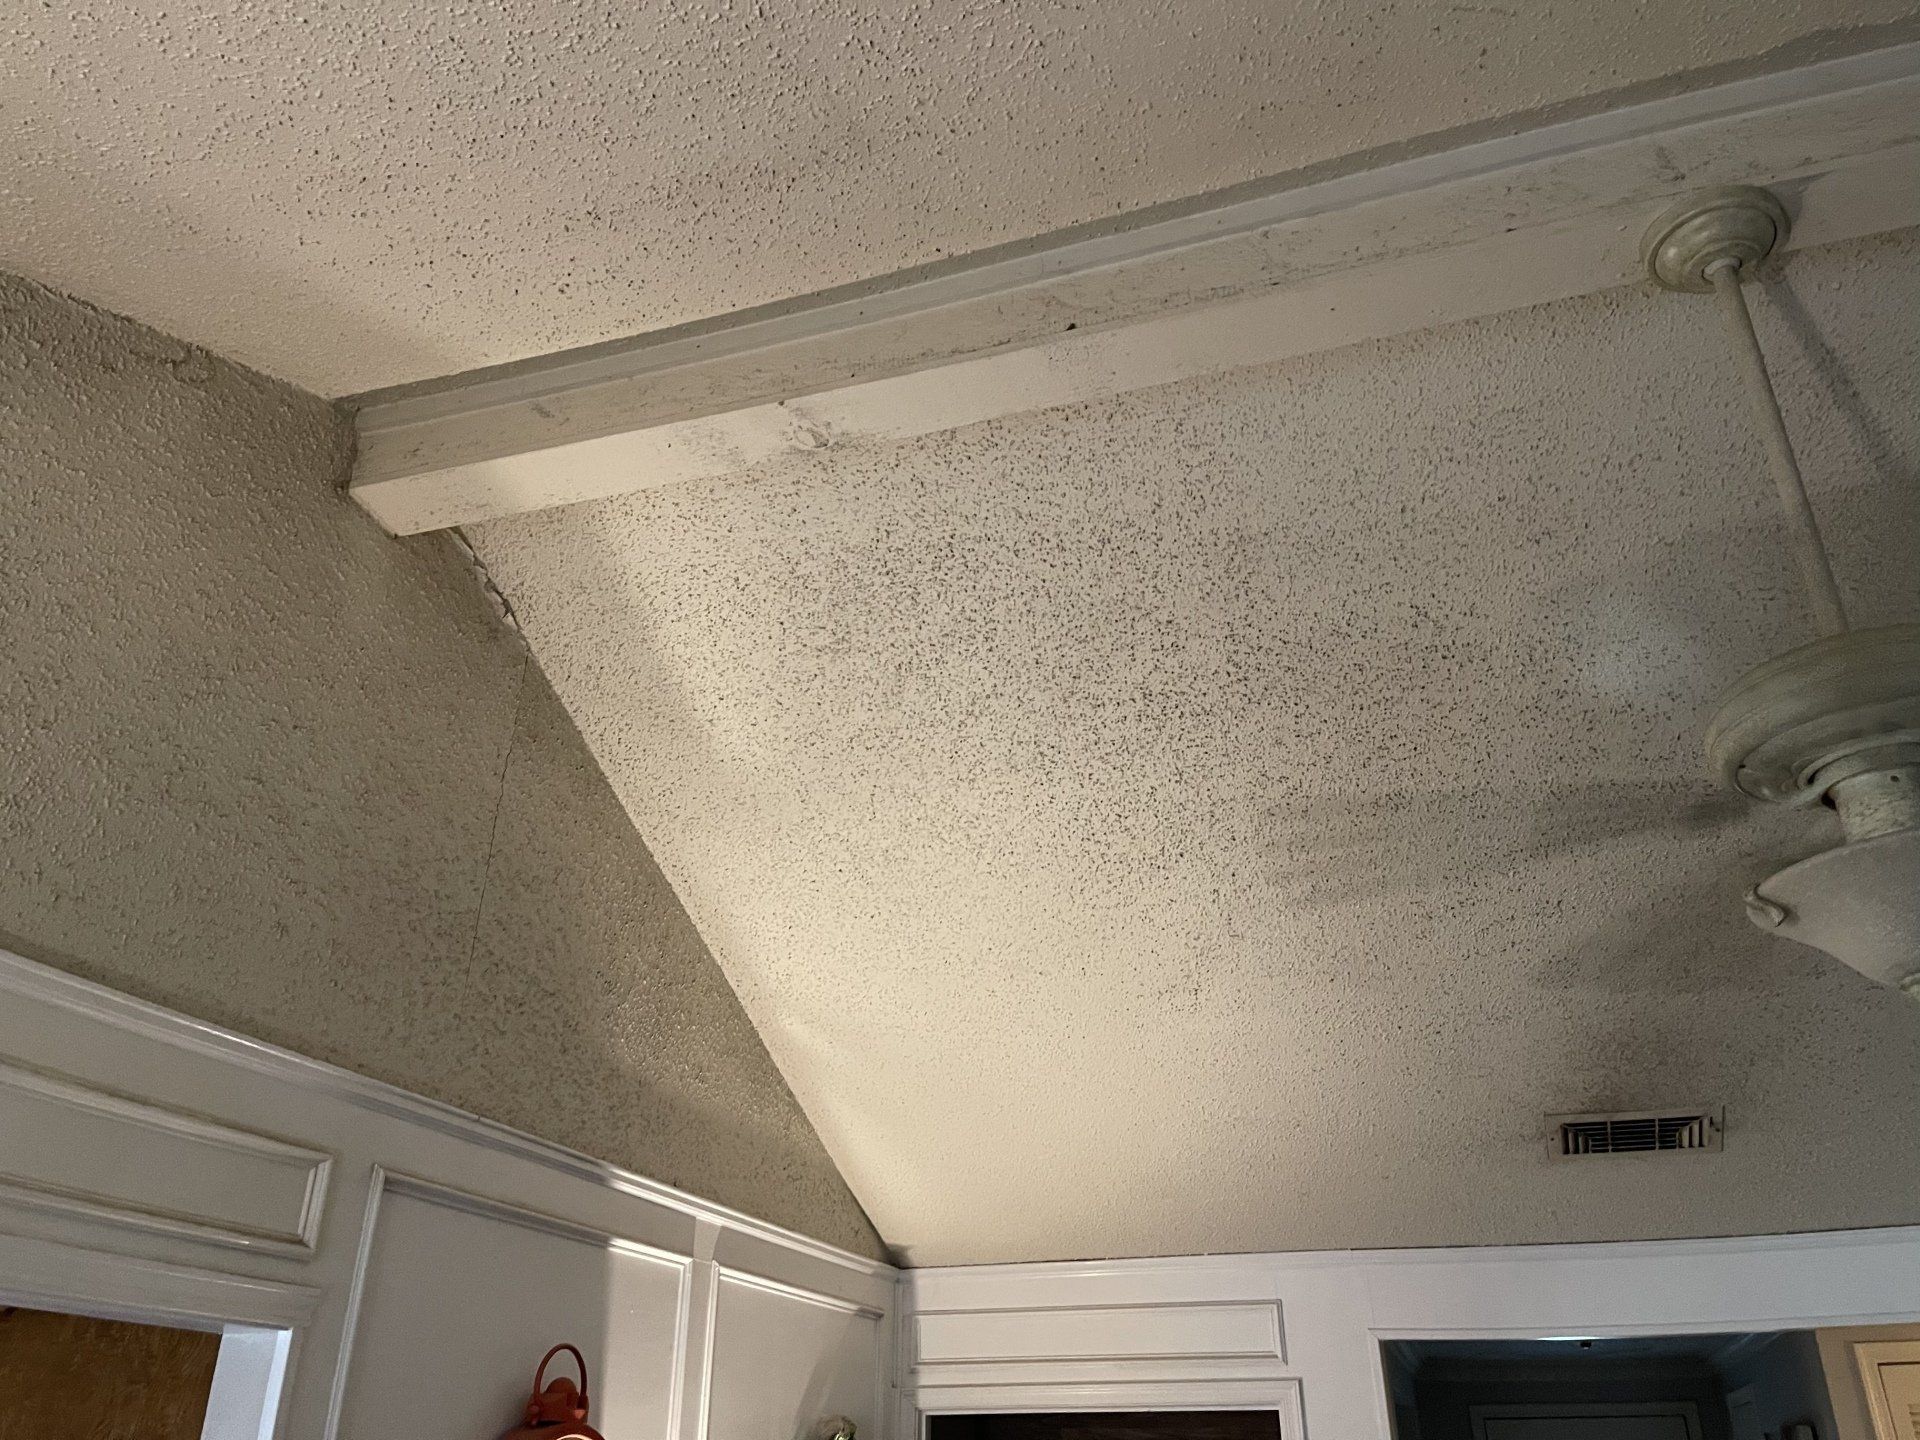
Apply the compound using a trowel or drywall knife. For ceilings (skim coat ceiling), use a roller to apply the compound before smoothing it out. The key is to apply thin, even layers. Avoid overworking the compound as it starts to dry.
Sanding for Perfection
Once dry, sand the surface lightly to remove any ridges or bumps. Ensure the room is well-ventilated during this process.
Advanced Tips
Dealing with Textured Walls
If you're texturing walls or dealing with existing textures, a thicker layer of joint compound might be necessary. Experiment with different tools to achieve the desired texture.
Paint on a Wall
For a painting project, ensure the skim coated surface is thoroughly dry and sanded smooth. This ensures that the paint on a wall looks even and professional.
Maintenance and Care
Protecting Your Skim Coat
To maintain the integrity of your skim coated walls or ceiling, avoid harsh chemicals or abrasive cleaning methods. Regular dusting and gentle cleaning are sufficient.
Conclusion
Skim coating is an invaluable skill for both professionals and DIY enthusiasts. By following these tips and employing patience and precision, you can transform any wall or ceiling into a work of art. Whether it's a plaster wall restoration or a fresh drywall installation, skim coating is the key to achieving professional, long-lasting results.
About Skim Coating Services
For those who prefer professional assistance, numerous drywall repair services offer expert skim coating. These services are equipped with the skills and tools necessary to handle everything from skim coating walls to drywall replacement and exterior painting..
Advanced Skim Coating Techniques for Professional Results
Layering for Strength
While skim coating primarily focuses on aesthetics, layering the joint compound can also add strength to your walls. Apply multiple thin layers, allowing each to dry fully before applying the next. This method not only enhances the wall’s durability but also aids in achieving a smoother finish.
Dealing with Difficult Surfaces
Some walls, especially older plaster walls, may present unique challenges such as uneven textures or significant damage. In these cases, a combination of drywall repair and careful skim coating is necessary. For substantial damage, consider drywall replacement before skim coating.
Precision in Corners and Edges
Corners and edges can be tricky when skim coating. Use a smaller trowel or joint knife for these areas to ensure smooth, even coverage. It’s essential to blend these areas seamlessly with the rest of the wall.
The Art of Color and Texture
Choosing the Right Paint
After skim coating, the choice of paint plays a significant role in the final look. Opt for high-quality paint that complements the smoothness of your walls. Remember, the smoother the surface, the more it will highlight the paint's quality and finish.
Experimenting with Textures
While skim coating is typically associated with smooth finishes, it can also be a base for creative texturing. Techniques like stippling or creating swirl patterns can add character to your walls. Use specific tools like texturing brushes or sponges to achieve these effects.
Professional Touches
Seamless Integration with Existing Structures
When integrating new skim coating with existing structures, it’s crucial to blend the edges seamlessly. This might involve feathering the joint compound into the existing paint or texture, ensuring a uniform appearance.
Custom Finishes
For a truly unique look, consider custom finishes such as metallic or pearlescent effects. These can be achieved by mixing additives into the joint compound or applying special paints after the skim coat has dried.
Eco-Friendly Skim Coating Practices
Sustainable Materials
Consider using eco-friendly joint compounds and paints that have low VOC (Volatile Organic Compounds) levels. These materials are better for the environment and healthier for indoor air quality.
Waste Reduction
Minimize waste by accurately estimating the amount of joint compound needed. Reuse or recycle materials whenever possible, and dispose of waste responsibly.
Final Thoughts and Considerations
Hiring a Professional
While DIY skim coating is achievable, hiring a professional drywall repair service can save time and ensure the highest quality results, especially for complex projects like exterior painting or extensive drywall replacement.
Continuous Learning and Adaptation
Skim coating is a skill that improves with practice. Continuously learning new techniques and adapting to different types of walls and textures will enhance your ability to achieve professional results.
In conclusion, skim coating is more than just a method of wall preparation; it's an art form that requires patience, skill, and attention to detail. Whether you’re a DIY enthusiast or a professional, mastering the art of skim coating will not only improve the aesthetics of your walls but also add value and longevity to your property. With the right tools, techniques, and a bit of creativity, you can transform any space into a stunning showcase of smooth, textured, or artistically finished walls.
You might also like