Extended Guide to Repairing Cracks in Drywall
Effective DIY Solutions for Every Home: Mastering the Art of Drywall Crack Repair
Cracks in drywall are not just an aesthetic issue but can also indicate potential structural concerns in a building.
This extended guide delves deeper into repairing various types of drywall cracks, including settling cracks and those found in the ceiling, providing a more detailed approach for both novices and experienced DIY enthusiasts. However, always opt for
professionals if you are not sure you can do it.
Repairing cracks in drywall is a skillful task that homeowners may face, particularly when dealing with the aftereffects of house settling. The process begins with understanding how to repair cracks in drywall from settling, which can manifest as minor fissures or significant gaps. These imperfections, often found in both walls and ceilings, require a careful approach to ensure longevity and aesthetic appeal. For those encountering sheetrock cracks, the methodology remains similar, emphasizing the need for thorough preparation and repair. Repairing stress cracks in drywall ceilings demands special attention, as these may indicate deeper structural issues. Furthermore, learning how to fix a recurring crack in drywall is vital for addressing problems that persist despite initial repair efforts. This typically involves a deeper investigation into the underlying causes, such as fluctuating moisture levels or ongoing settling, and applying a more comprehensive repair strategy that might include using flexible joint compounds and mesh tape to reinforce the affected area, ensuring the repair blends seamlessly with the surrounding surface.
Understanding Different Types of Cracks
Settling Cracks in Drywall
Causes: Typically occur in new buildings as the structure settles.
Characteristics: Usually vertical or diagonal, following the drywall seam.
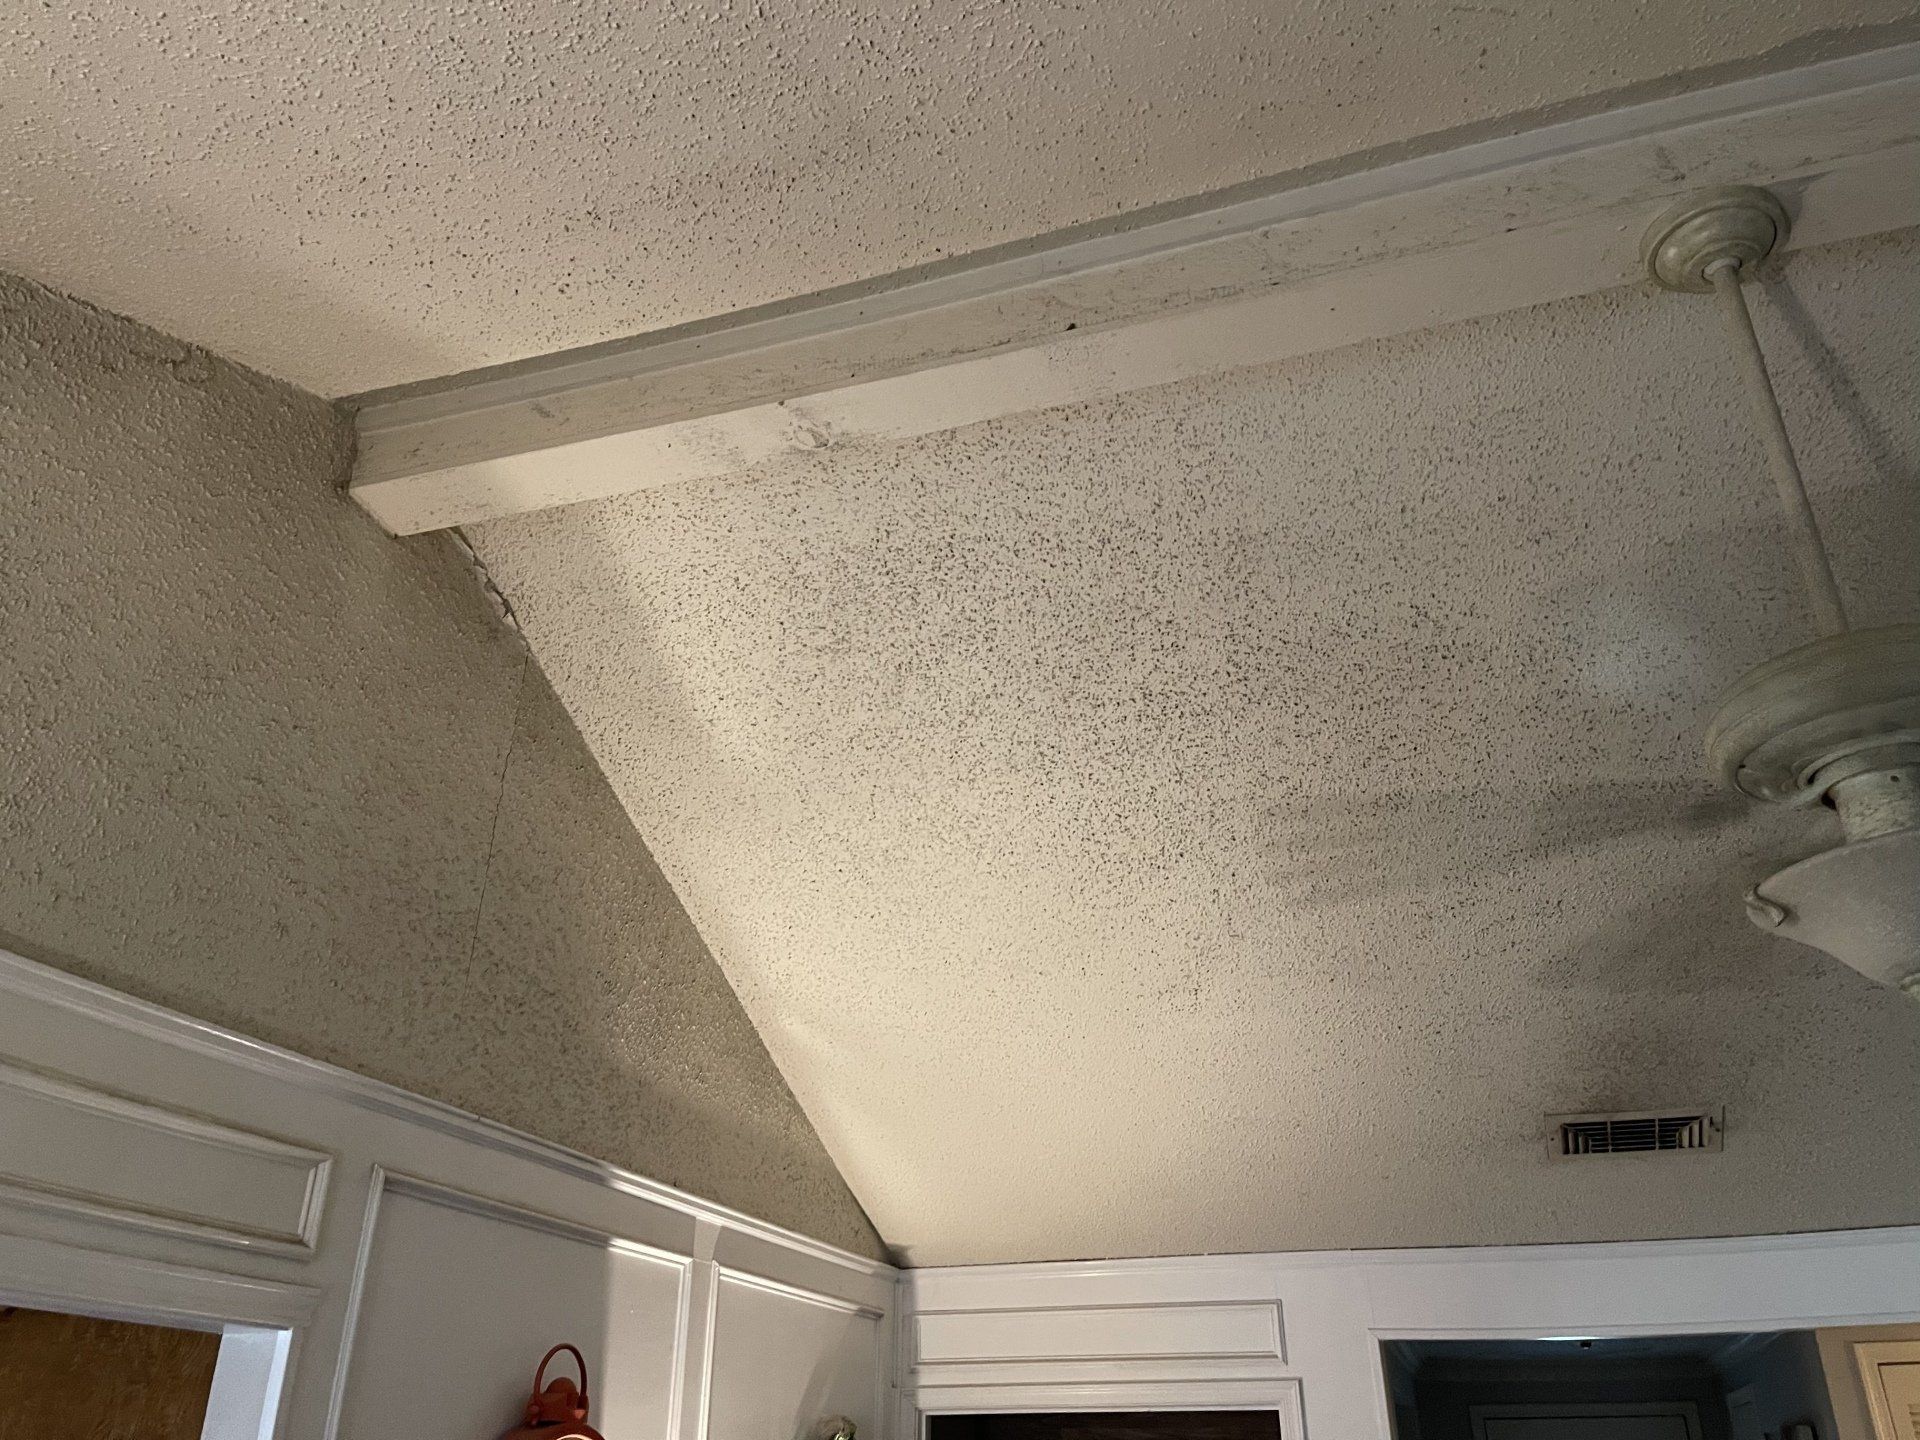
Cracks in Drywall Ceiling
Causes: Structural shifts, moisture imbalance, or improper installation.
Characteristics: May appear as straight lines or spiderweb patterns.
Other Common Drywall Cracks
Causes: Environmental changes, impact damage, or stress points.
Characteristics: Vary in size and direction, often localized.
Preparing for Repair
Safety First: Wear protective gear such as gloves and safety glasses.
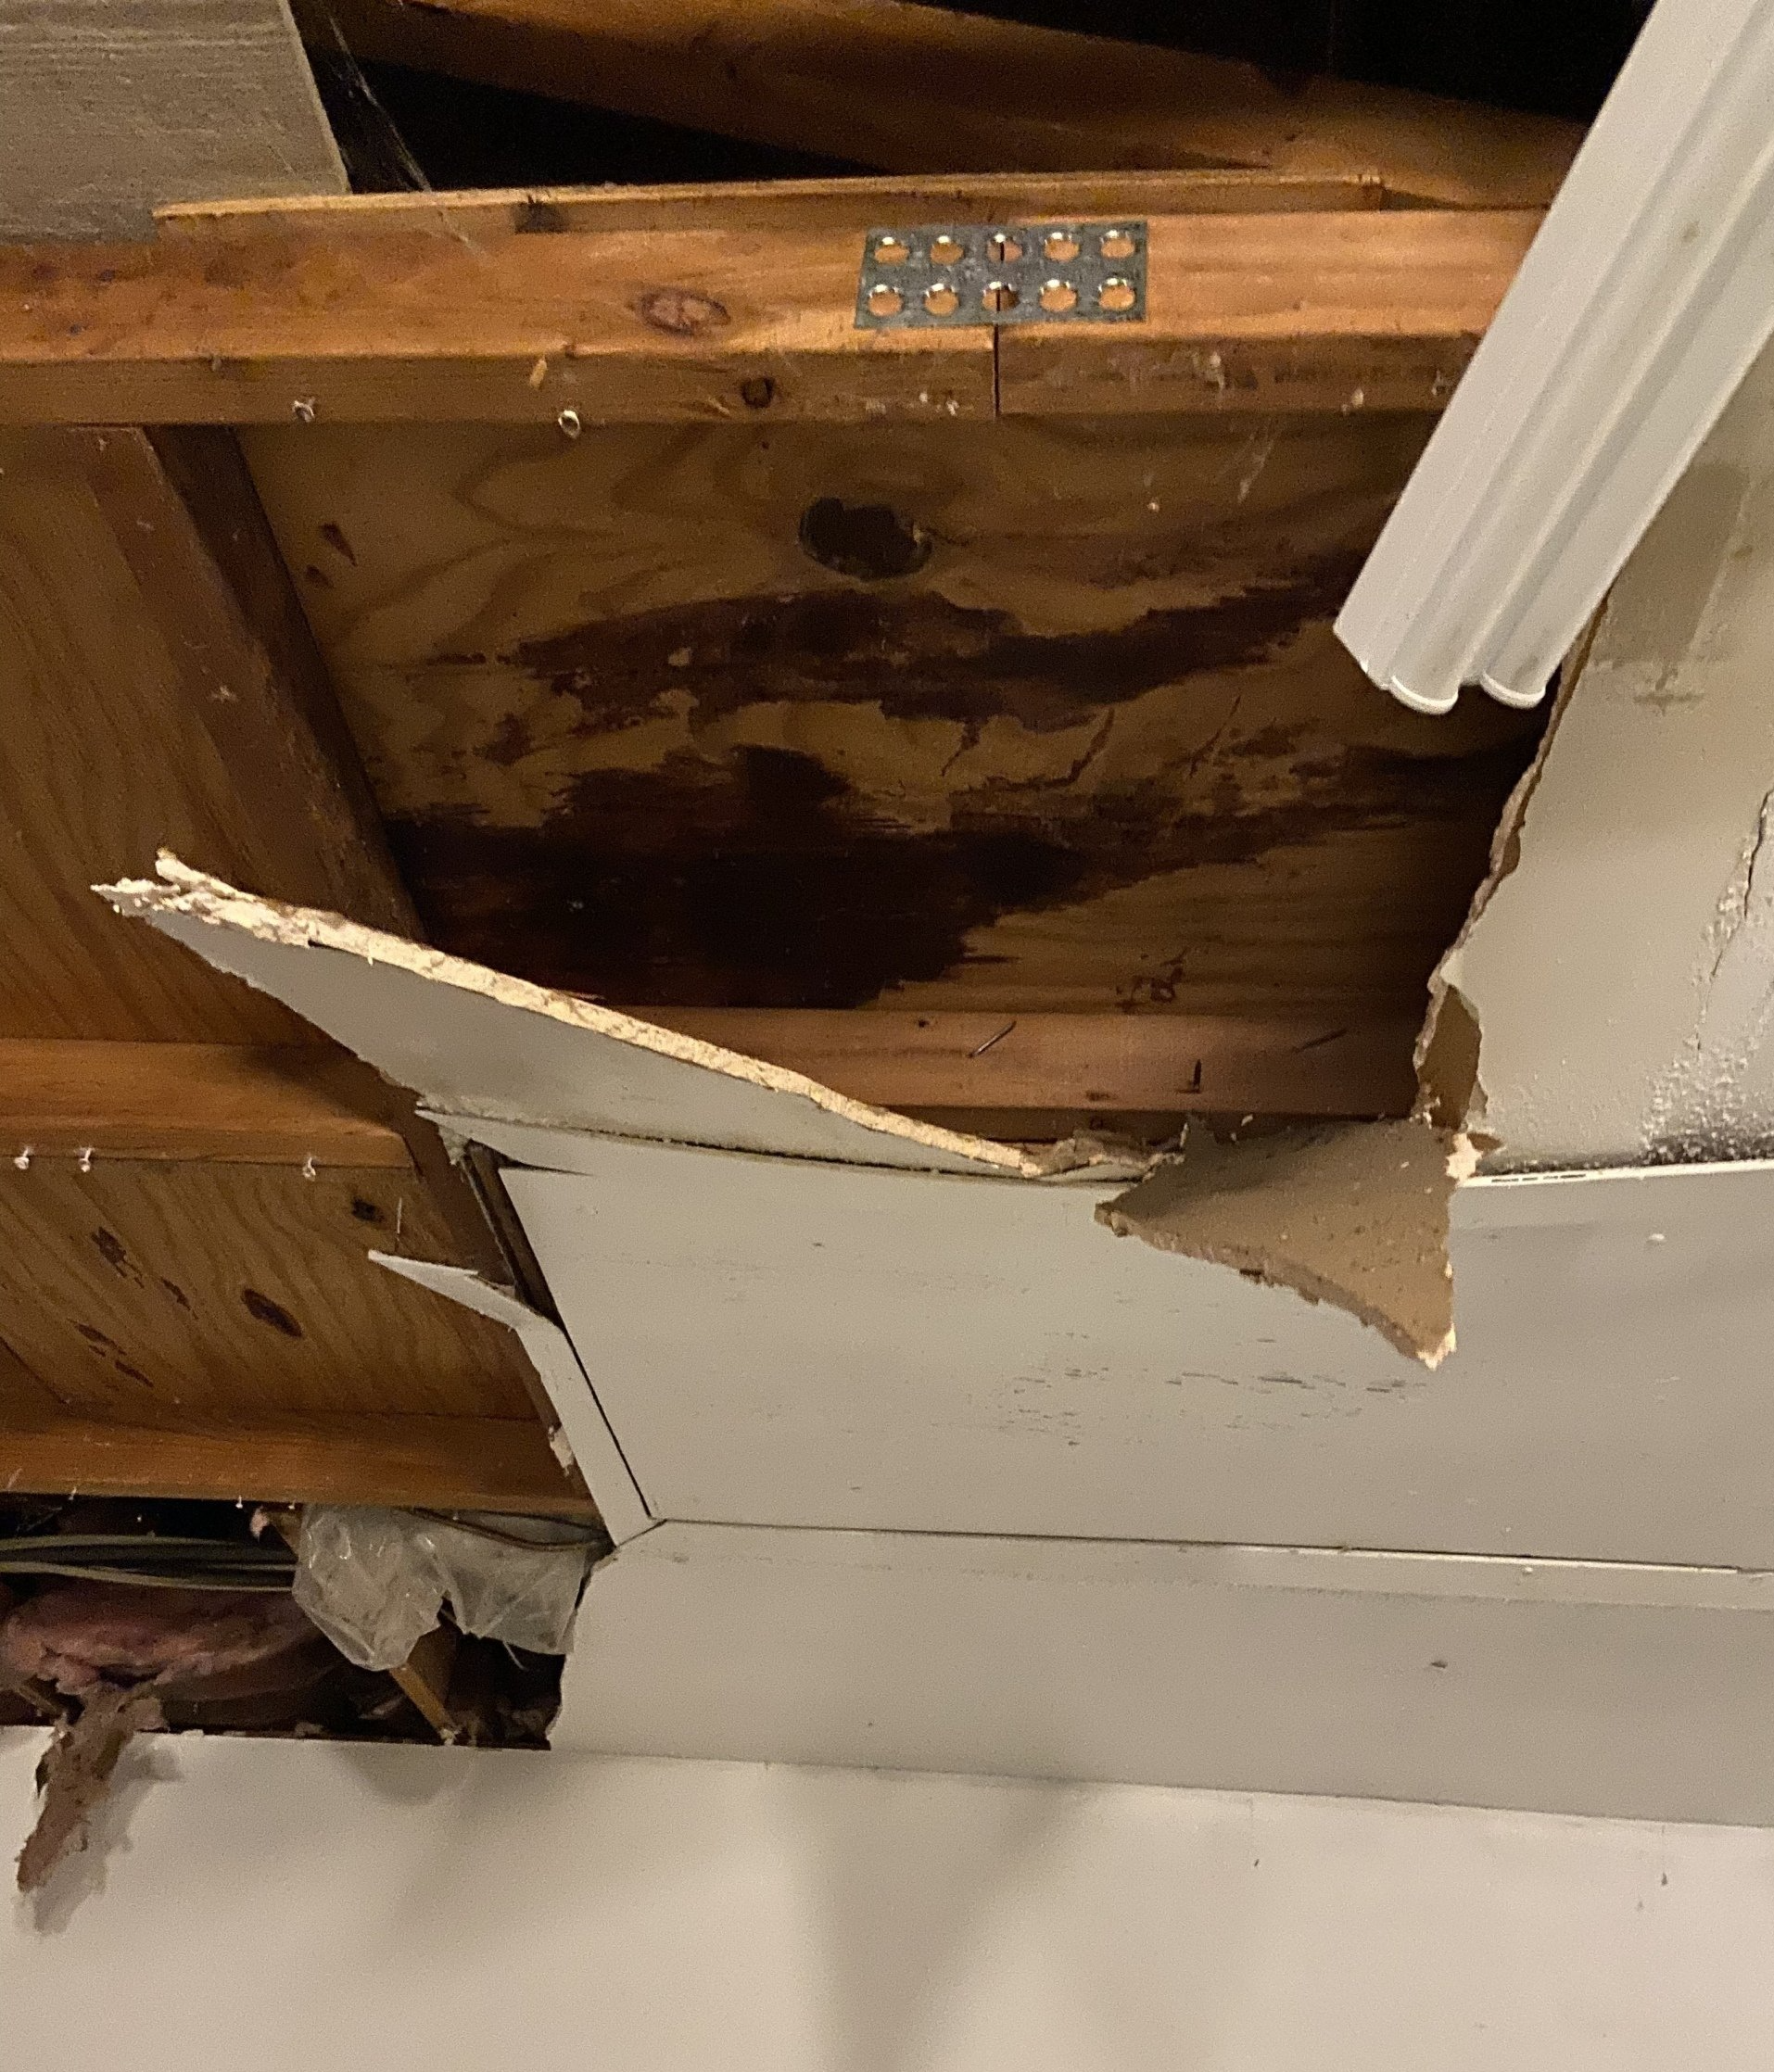
Area Preparation: Cover furniture and floors to protect from dust and debris. Make sure it's not water damage.
Detailed Repair Techniques
Fixing Cracks in Drywall Ceiling
Stabilize the Area: Secure any loose drywall around the crack.
Apply Joint Compound: Use a flexible putty knife for better control.
Taping: Opt for fiberglass mesh tape for its strength and ease of use.
Repairing Settling Cracks in Drywall
Initial Cleaning: Remove any loose material from the crack.
Compound Application: Use a setting-type joint compound for deeper cracks.
Sanding: Gradually increase the grit of the sandpaper for a smoother finish.
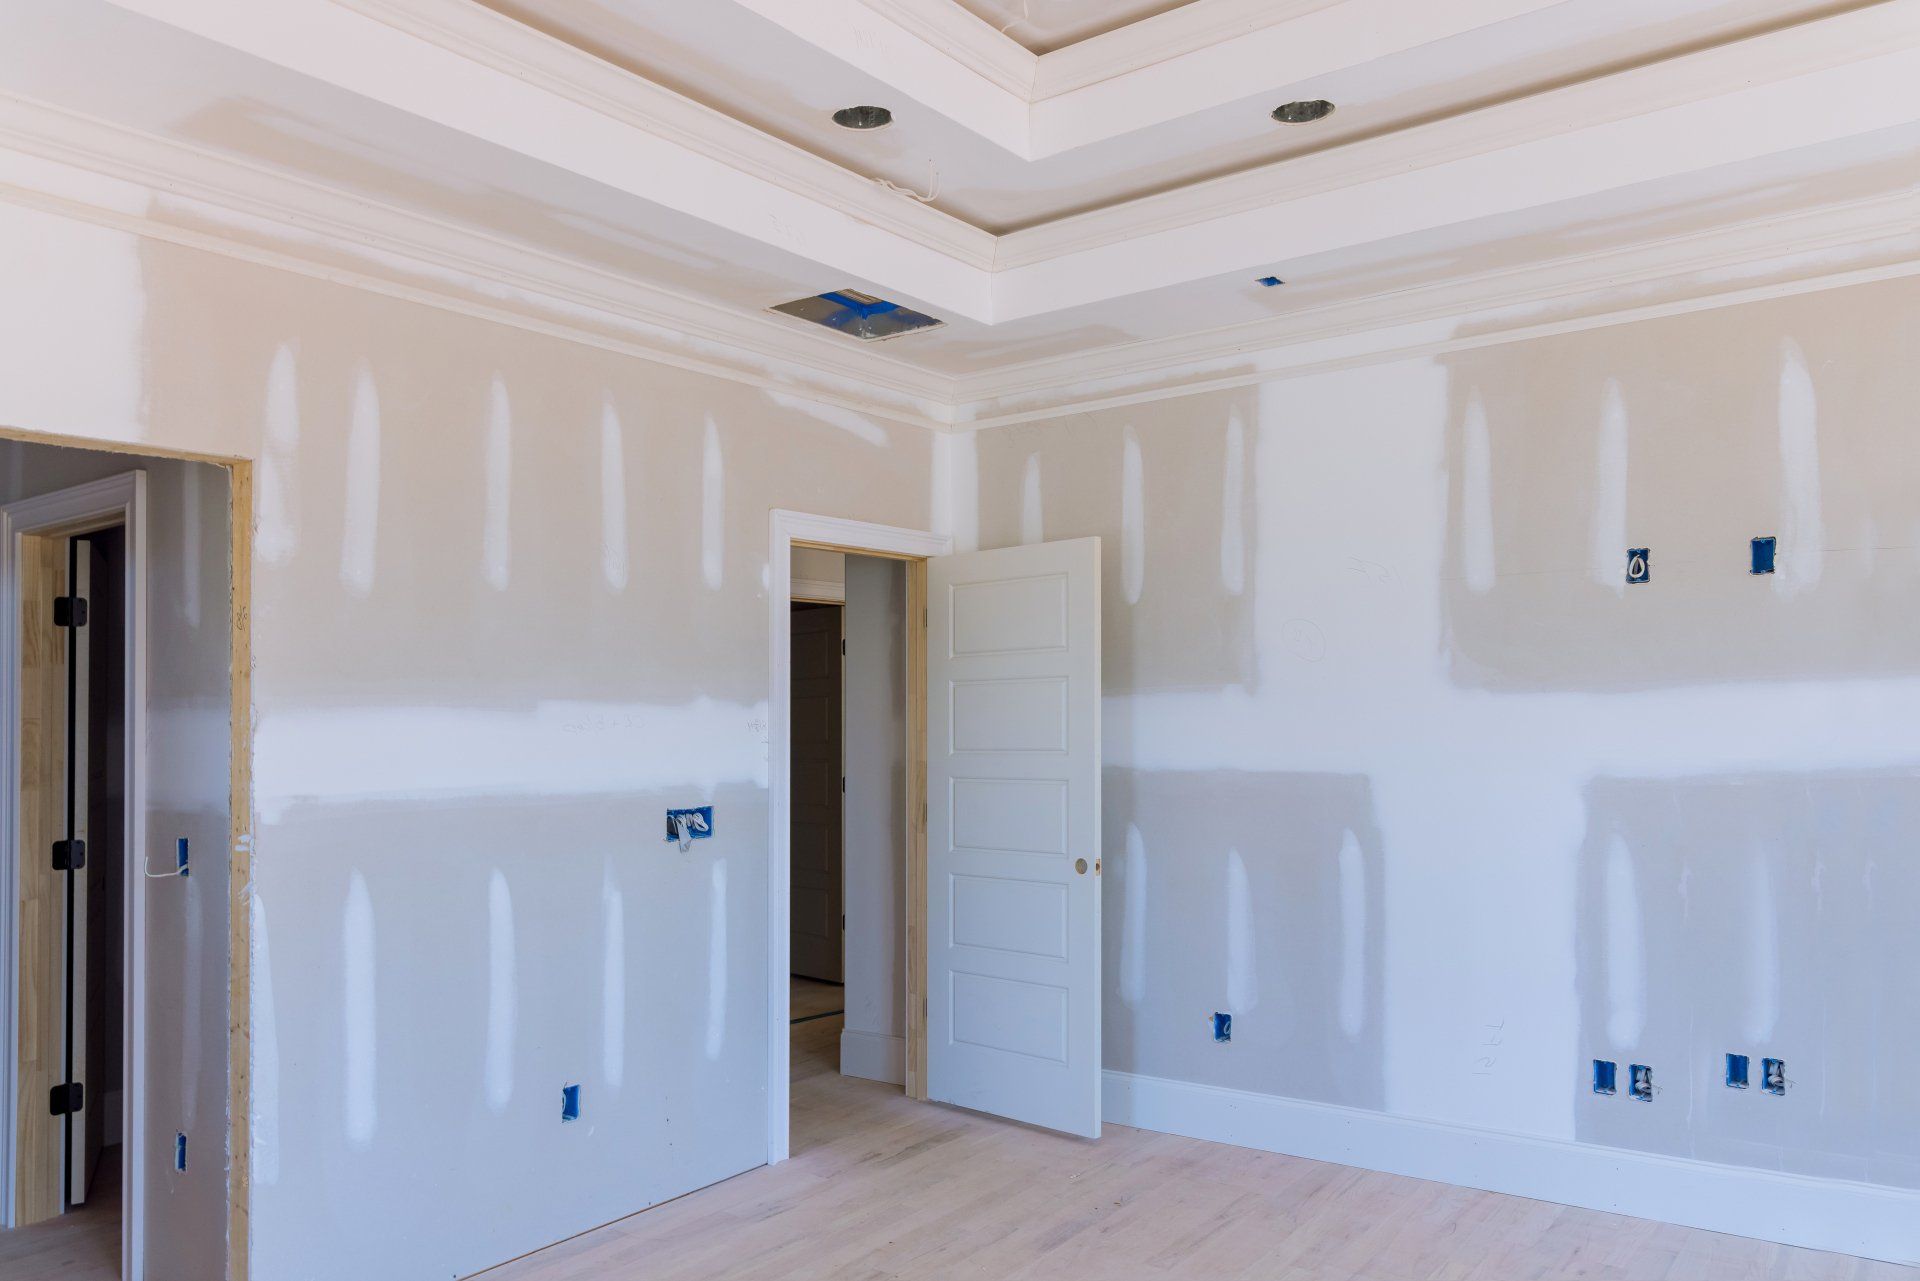
Patching Cracks in Drywall
Layering Technique: Apply at least three layers of compound, feathering out the edges.
Final Touches: Ensure the repair is flush with the surrounding wall or ceiling.
Advanced Tips
Temperature and Humidity Control: Work in conditions that are not too humid or too cold for optimal drying.
Texture Matching: For textured walls, replicate the pattern using specialized brushes or rollers.
Painting: Use a primer before painting to prevent the patch from showing through.
Post-Repair Considerations
Monitoring: Keep an eye on the repaired area for any signs of re-cracking.
Preventive Measures: Address any underlying structural issues to prevent future cracks.
If you find this hard, you can contact us for
professional drywall services.
Conclusion
This extended guide provides an in-depth look at fixing cracks in drywall, including specialized advice for different types of cracks such as settling cracks in drywall and cracks in the drywall ceiling.
By following these detailed steps and tips, you can achieve a professional-looking repair, enhancing both the appearance and longevity of your drywall. Remember, for extensive or recurring damage, it's always wise to consult a professional.
This expanded guide now offers a more detailed approach, ensuring that even those with little to no prior experience can confidently tackle drywall crack repairs.
You might also like