Step-by-Step Guide to Skim Coating Your Ceiling
Achieve a Flawless Finish: A Comprehensive Guide to Skim Coat Ceilings
Transforming your ceiling from drab to fab is easier than you might think with a technique called skim coating. Whether you’re dealing with unsightly popcorn ceilings, minor damage, or just want a smoother finish, skim coating is the answer. Here’s a unique and creative guide to help you achieve a
flawless skim coat ceiling.
Why Skim Coat Your Ceiling?
Skim coating is a process of applying a thin layer of joint compound over the entire surface of your ceiling. This method is ideal for covering imperfections, repairing damage, and even giving new life to outdated textures. A skim coat ceiling can make a huge difference in the overall look and feel of your room.
Materials and Tools You’ll Need
Before you start, gather these essential materials and tools:
Joint compound (also known as mud)- Taping knives (6-inch and 12-inch)
- Hawk or mud pan
- Sandpaper (medium and fine grit)
- Primer and paint
- Drop cloths and plastic sheeting
- Ladder or scaffolding
Step 1: Prepare the Room
Begin by prepping your workspace. Remove or cover all furniture and fixtures with plastic sheeting. Lay down drop cloths to protect your floors. Use painter's tape to secure the plastic sheeting and create a sealed work area. Ensuring a clean and protected space is crucial for the best way to skim coat ceiling.
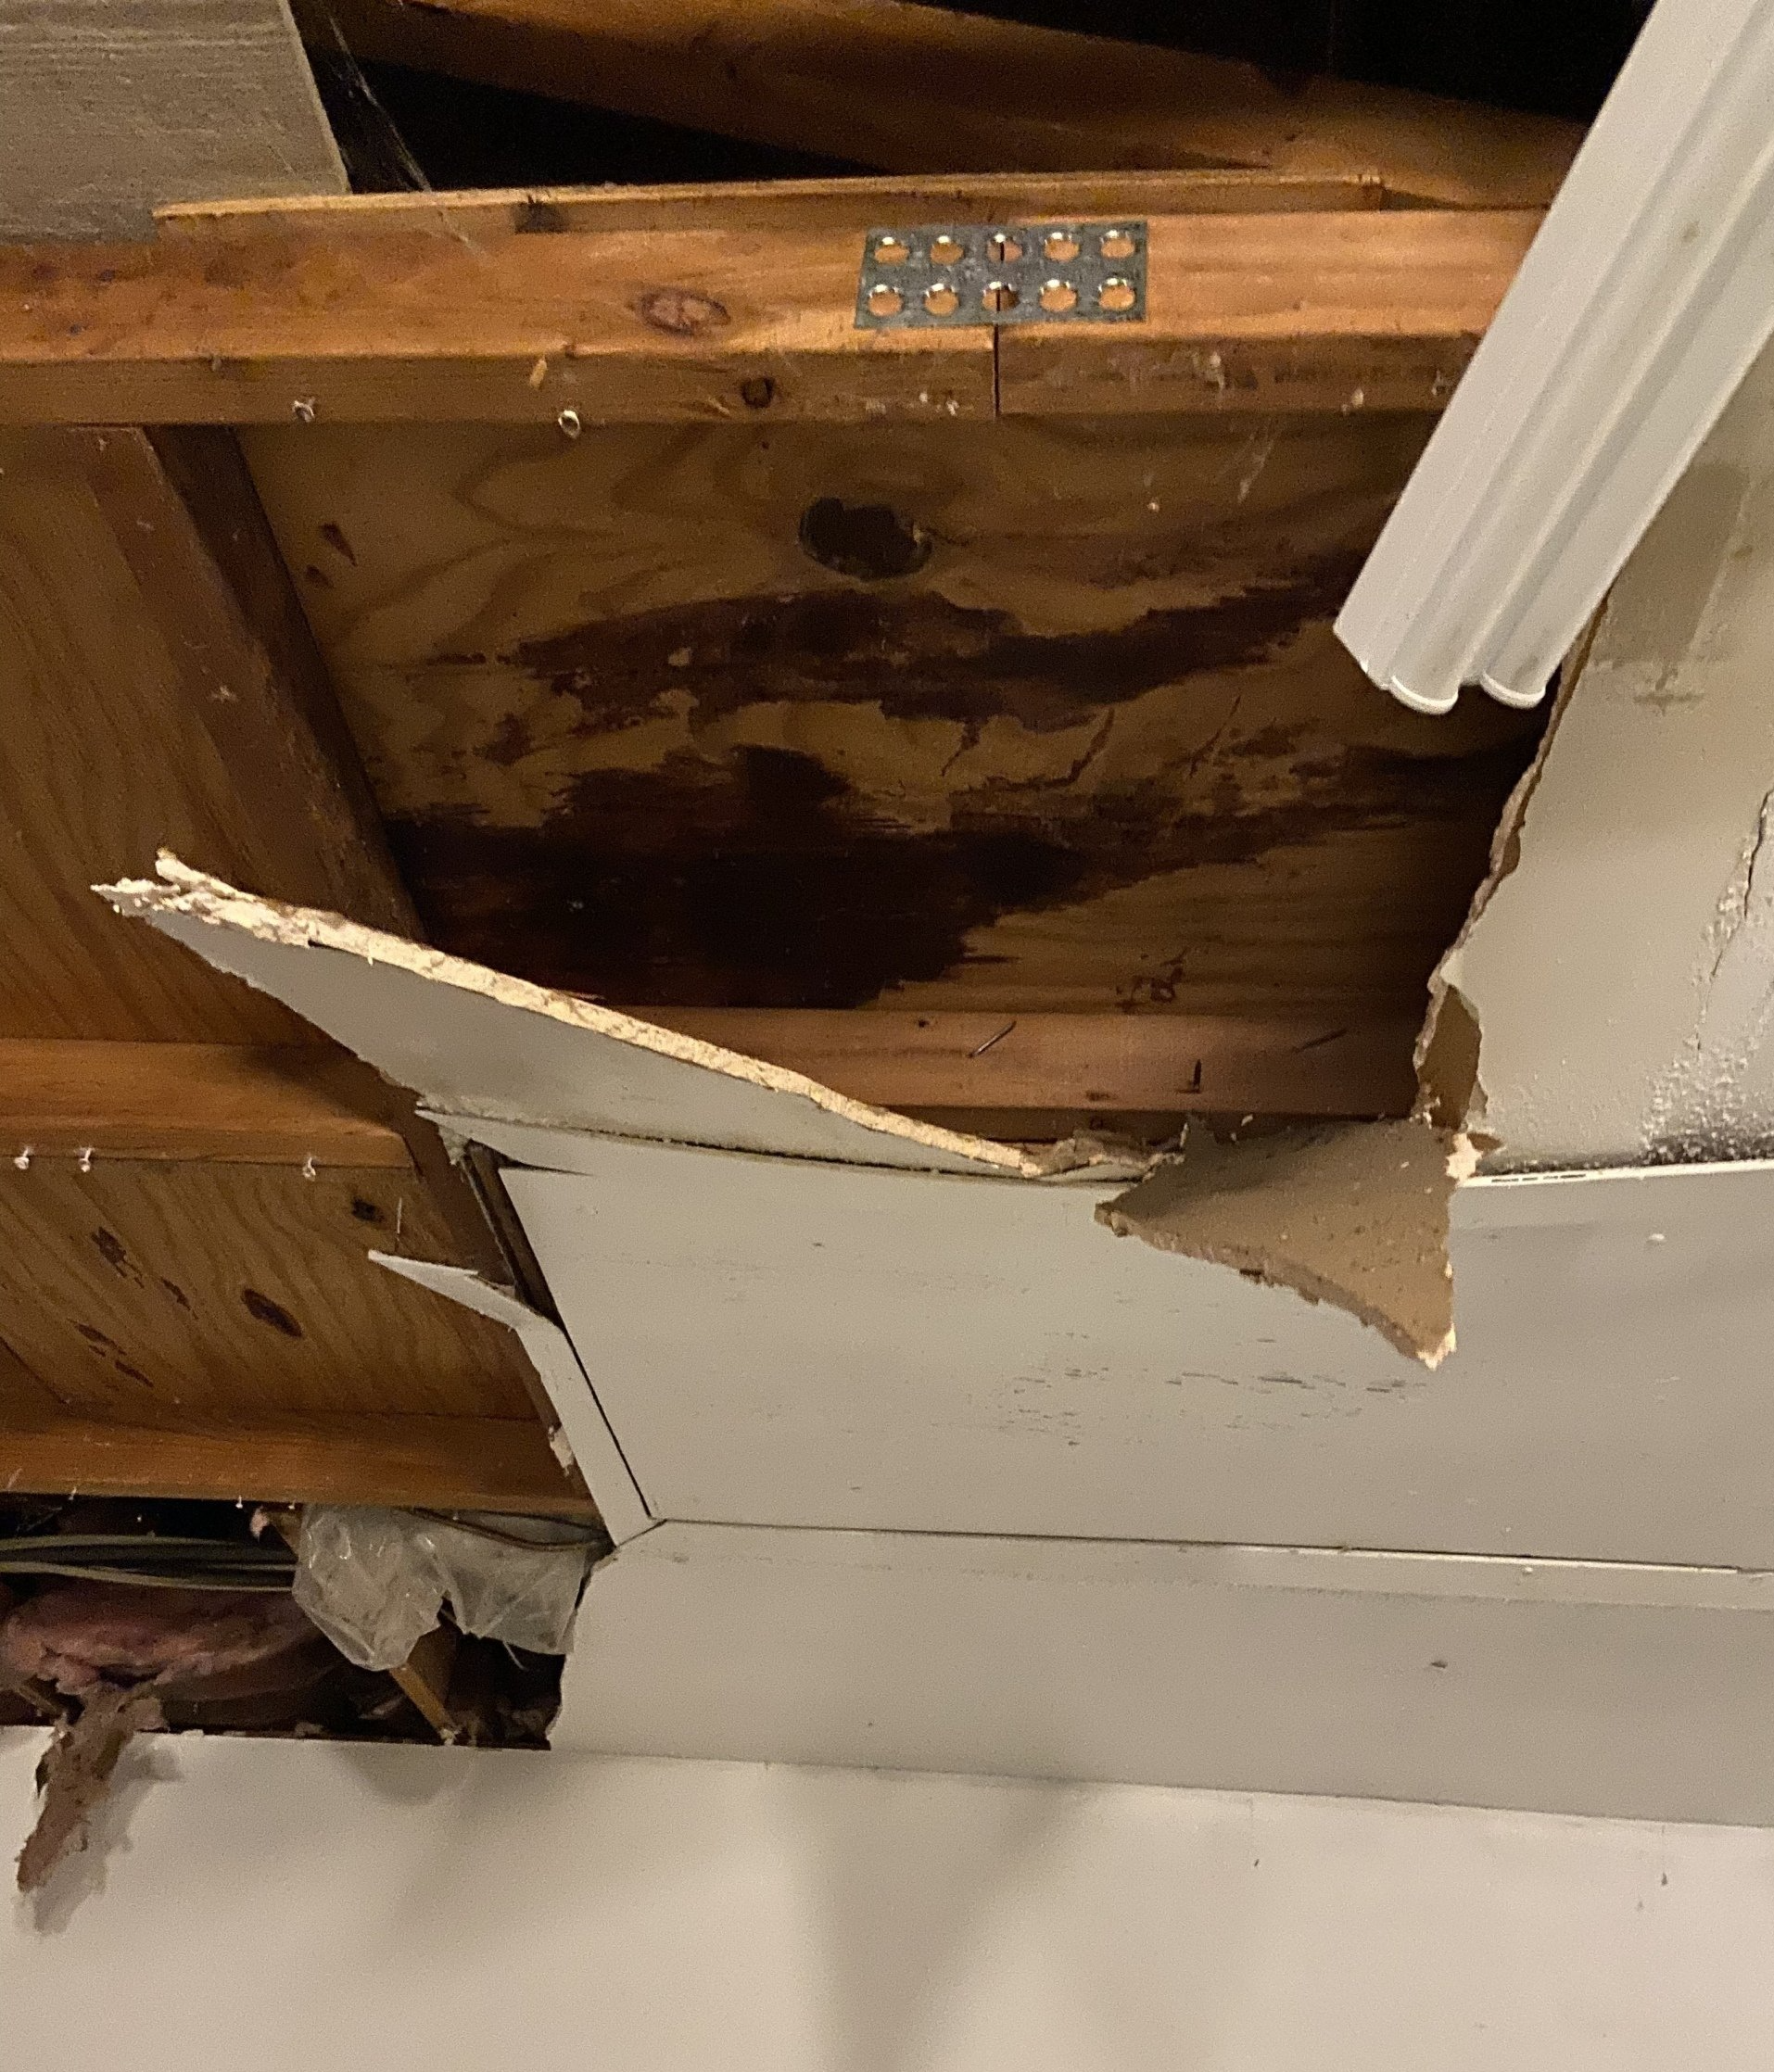
Step 2: Repair and Clean the Ceiling
Inspect your ceiling for any cracks, holes, or other damage. Perform a skim coat ceiling repair by filling these imperfections with joint compound using a 6-inch taping knife. Allow the compound to dry and then sand it smooth. Cleaning the ceiling with a damp cloth to remove dust and debris is also essential.
Step 3: Mix the Joint Compound
Mix your joint compound to a smooth, workable consistency. If you're using a pre-mixed compound, it may need a bit of water to achieve the right thickness. The compound should be creamy but not runny.
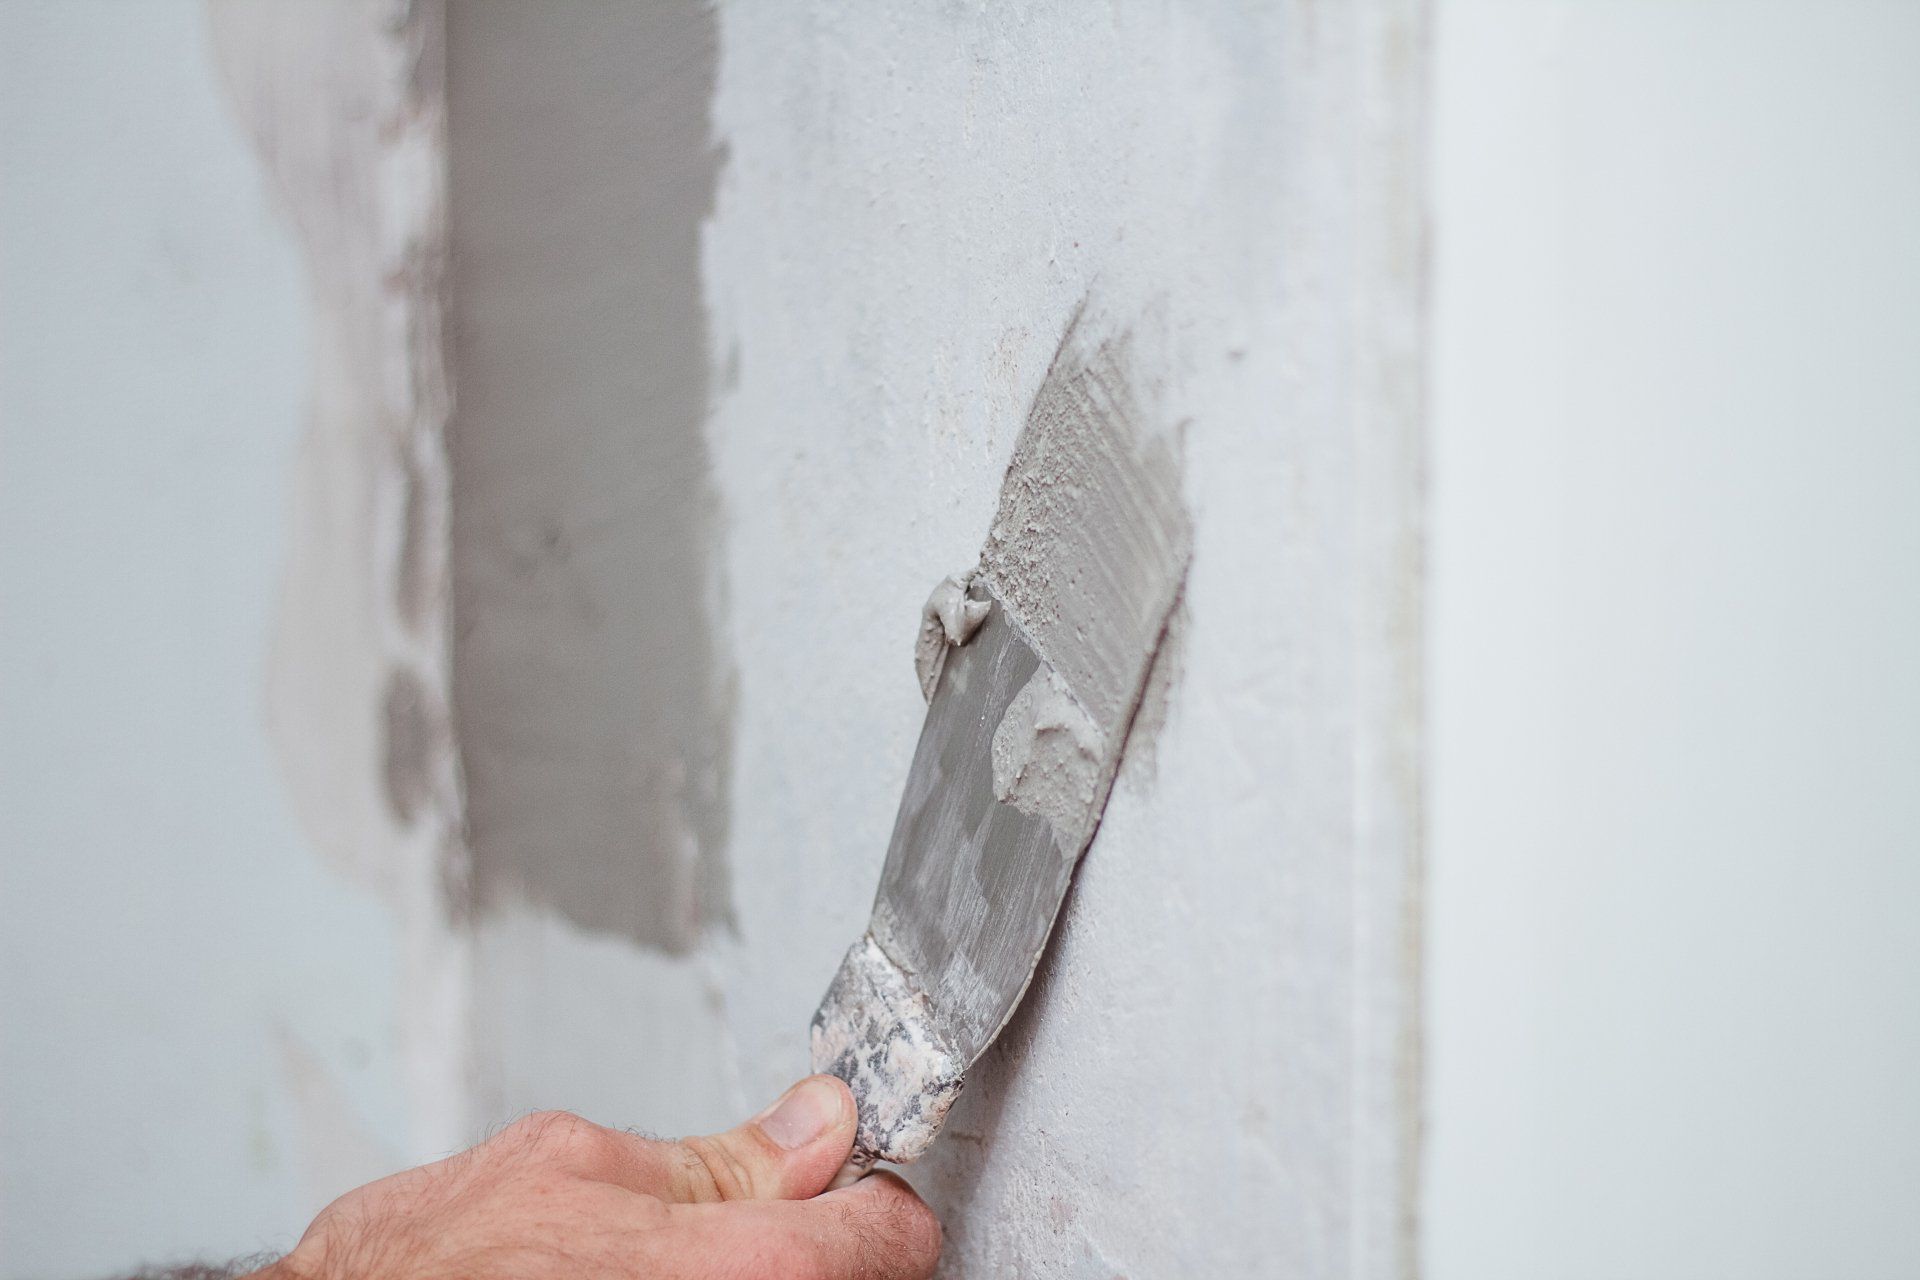
Step 4: Apply the First Coat
Using your hawk or mud pan, load a small amount of joint compound onto your 12-inch taping knife. Start at one corner of the ceiling and apply the compound in thin, even strokes. Work in sections, blending each new section into the previous one to create a seamless finish. This initial coat will serve as your base layer.
Step 5: Smooth and Feather the Edges
As you apply the compound, use your taping knife to smooth out any ridges and feather the edges. Feathering means to thin out the compound at the edges to blend it smoothly into the ceiling. This technique helps avoid noticeable lines and ensures a professional look.
Step 6: Let It Dry
Allow the first coat to dry completely. Drying time can vary depending on the thickness of the application and the humidity in the room, but it typically takes 24 hours.
Step 7: Sand the Surface
Once the first coat is dry, lightly sand the entire ceiling with medium-grit sandpaper to remove any high spots or imperfections. Follow this with a fine-grit sanding to achieve a smooth surface. Wipe away the dust with a damp cloth.
Step 8: Apply Subsequent Coats
For a perfect skim coat ceiling, multiple coats are often necessary. Repeat the application and sanding process, each time with a thinner layer of compound. Usually, two to three coats are sufficient to achieve a smooth finish.
Step 9: Final Sanding and Cleaning
After the final coat is dry, give your ceiling a final sanding with fine-grit sandpaper. Clean the ceiling thoroughly to remove all dust and debris, ensuring a clean surface for priming and painting.
Step 10: Prime and Paint
Apply a high-quality primer to seal the joint compound and prepare the ceiling for paint. Once the primer is dry, paint your ceiling with the desired color. For best results, use a paint formulated for ceilings to prevent drips and ensure even coverage.
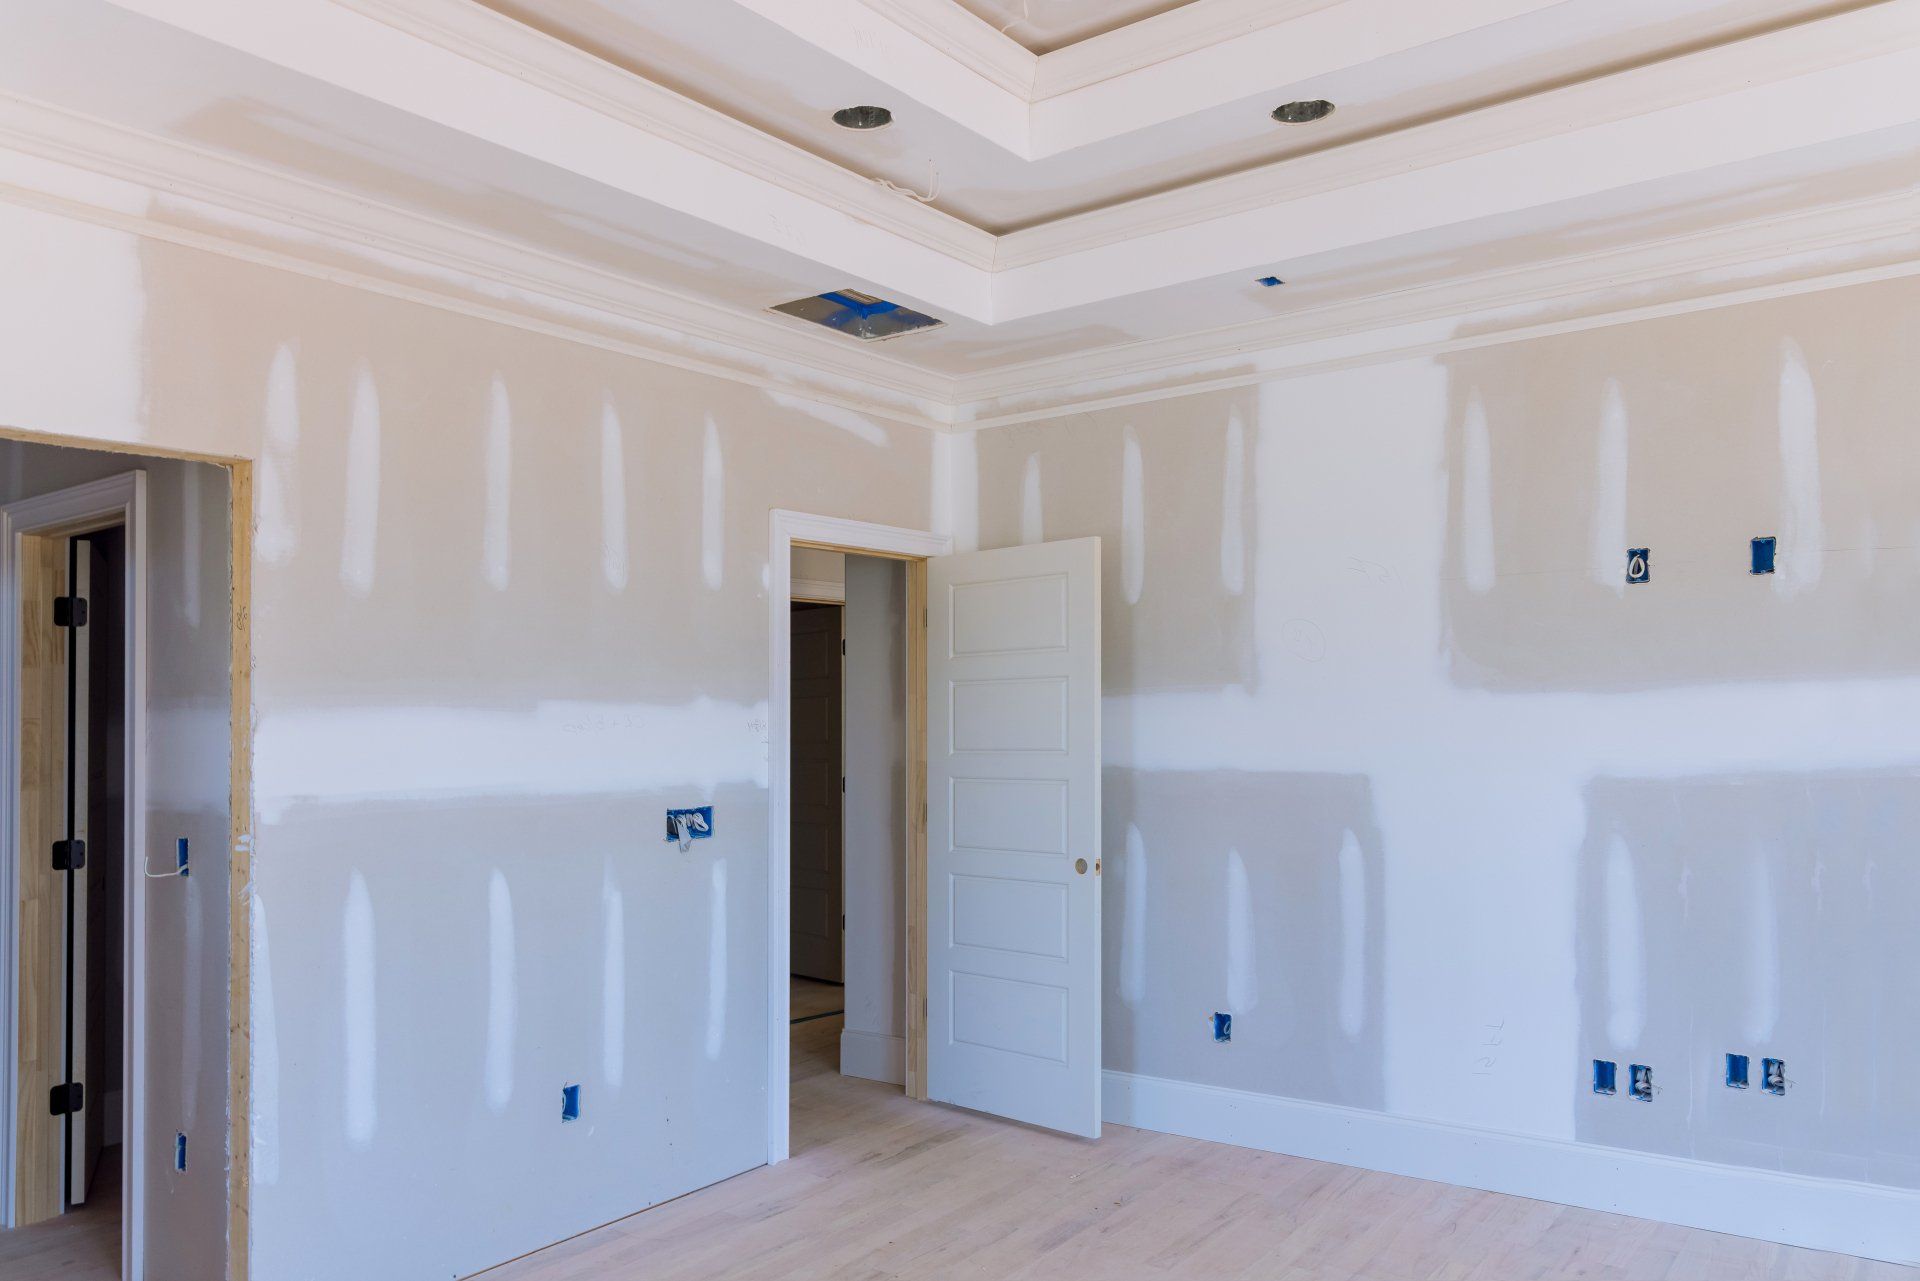
Skim Coat Ceiling Before and After: The Transformation
The transformation achieved by a skim coat ceiling before and after is truly remarkable. What was once a bumpy, uneven surface can become a smooth, elegant finish that enhances the overall aesthetics of your room. The visual difference is often dramatic, making all the effort worthwhile.
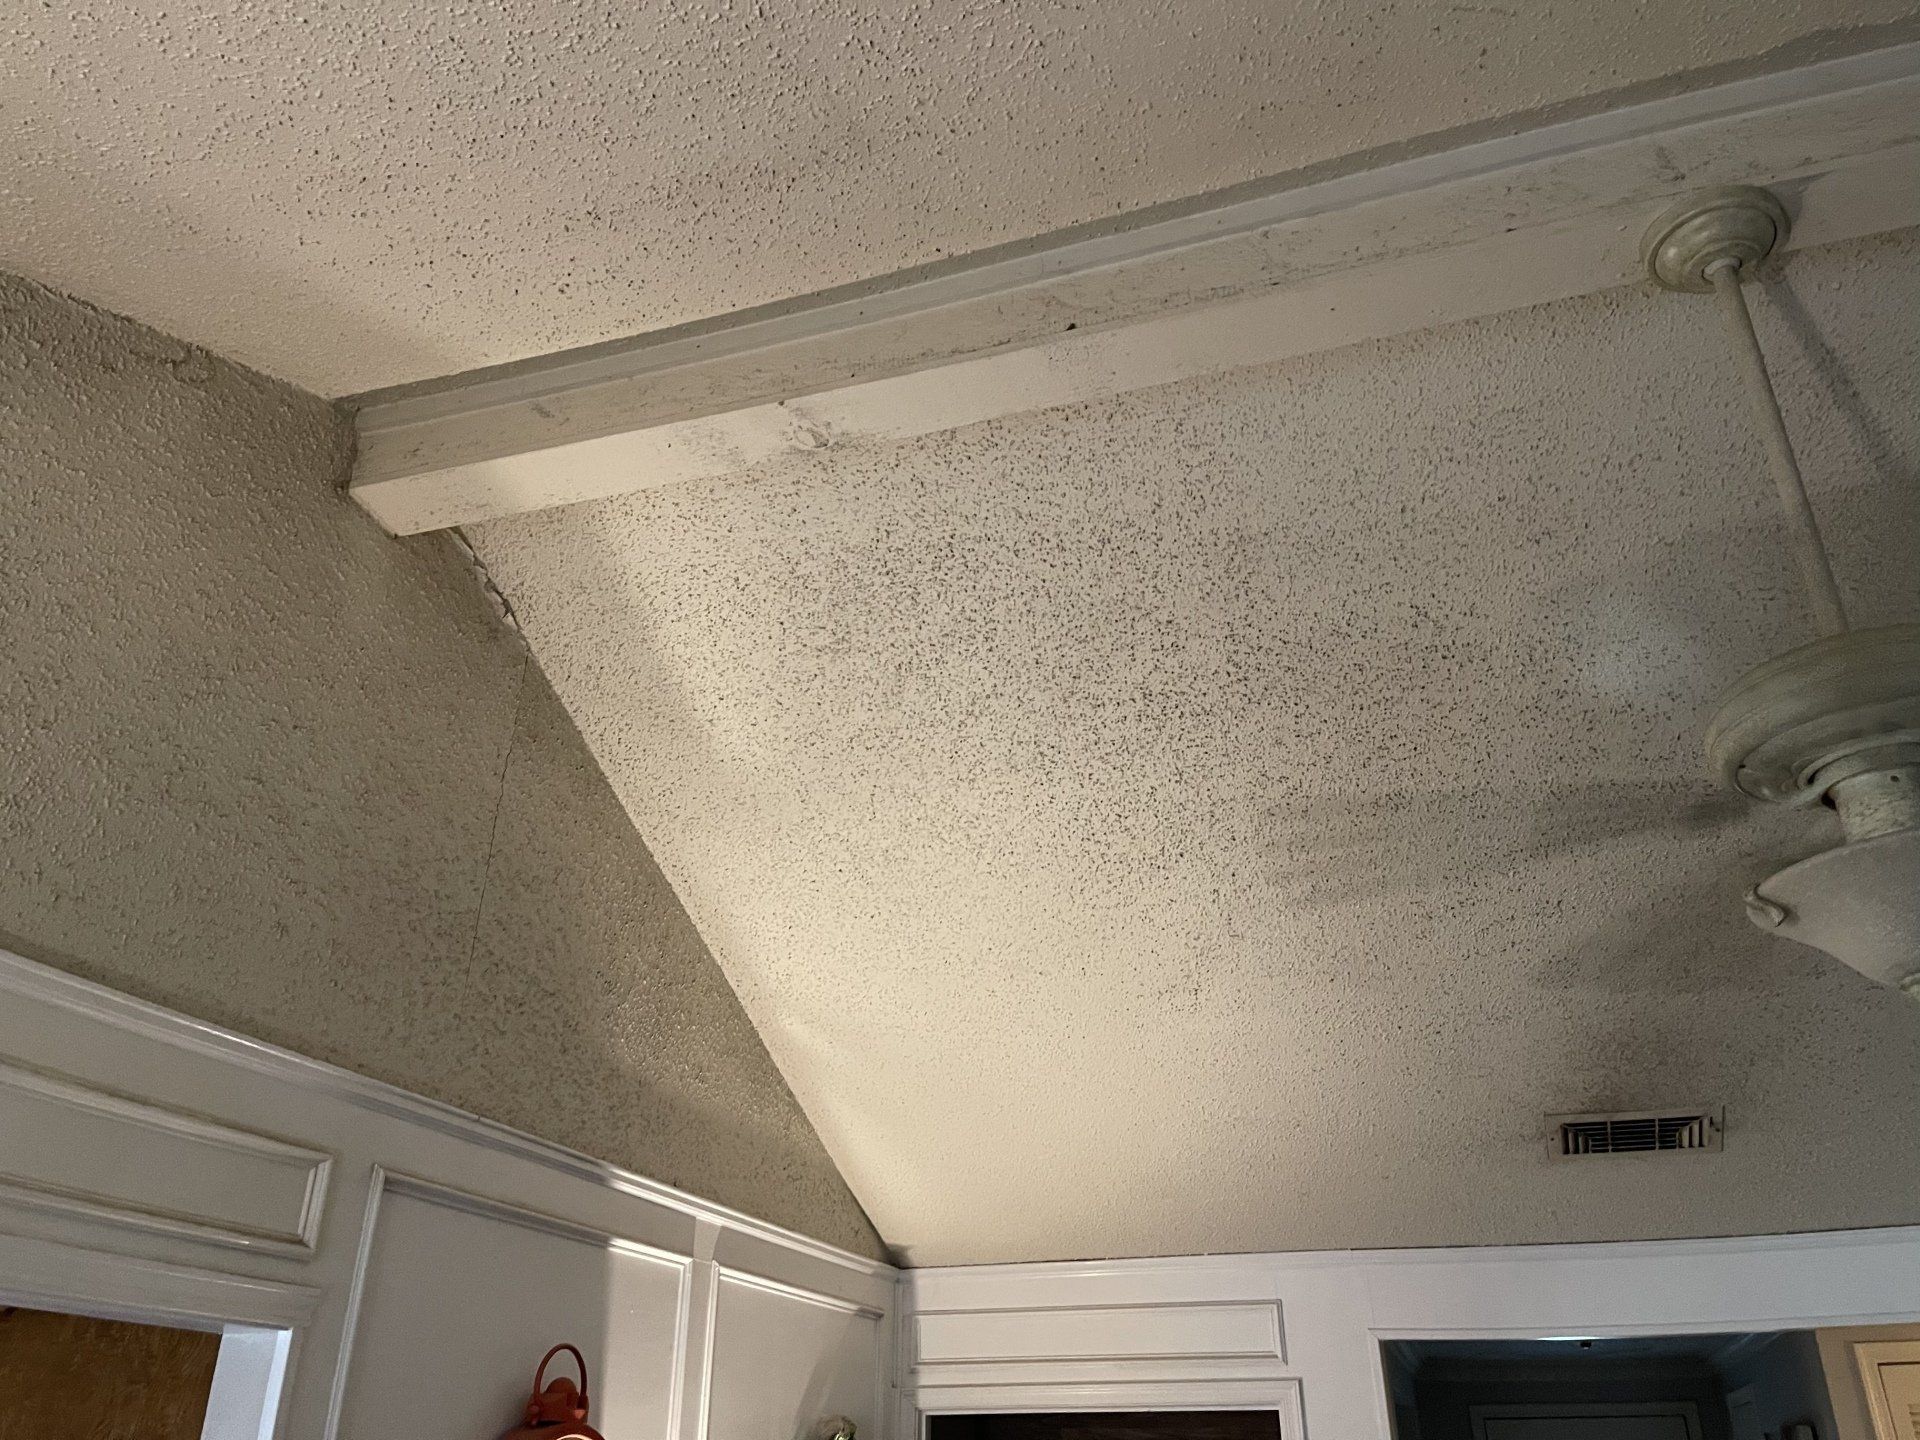
Skim Coat Ceiling Over Popcorn
If you’re dealing with an outdated popcorn ceiling, you can apply a skim coat ceiling over popcorn to create a modern, sleek look. This process involves scraping off the loose texture and then following the same steps outlined above. By removing the popcorn texture and applying a skim coat, you can achieve a contemporary and smooth finish that completely revitalizes your space.
Tips for a Successful Skim Coat Ceiling
Patience is Key: Don’t rush the process. Allow each coat to dry thoroughly before applying the next one.
Use Quality Tools: Investing in good quality taping knives and joint compound can make a significant difference in the ease of application and the final result.
Practice Your Technique: If you’re new to skim coating, practice on a smaller area or a piece of drywall before tackling your ceiling.
Ventilation: Ensure your workspace is well-ventilated. Proper airflow can help the compound dry faster and reduce dust accumulation.
Conclusion
Skim coating is a versatile and effective way to improve the look of your ceilings. Whether you're tackling a skim coat ceiling repair or simply want to refresh your space, this step-by-step guide provides you with the knowledge and confidence to
achieve professional results. With a little patience and the right techniques, you can transform your ceilings and enjoy a beautifully finished room. From a skim coat ceiling before and after comparison to tackling a skim coat ceiling over popcorn, this method is a powerful tool in your home improvement arsenal.
You might also like